A wedding is a special day, and you need to do all in your power to make it as memorable as you can. Therefore, you need to pay attention to numerous aspects to make the best day of your life as good as it can be. In most cases, you will see that organizing a wedding is challenging and quite stressful down the road.
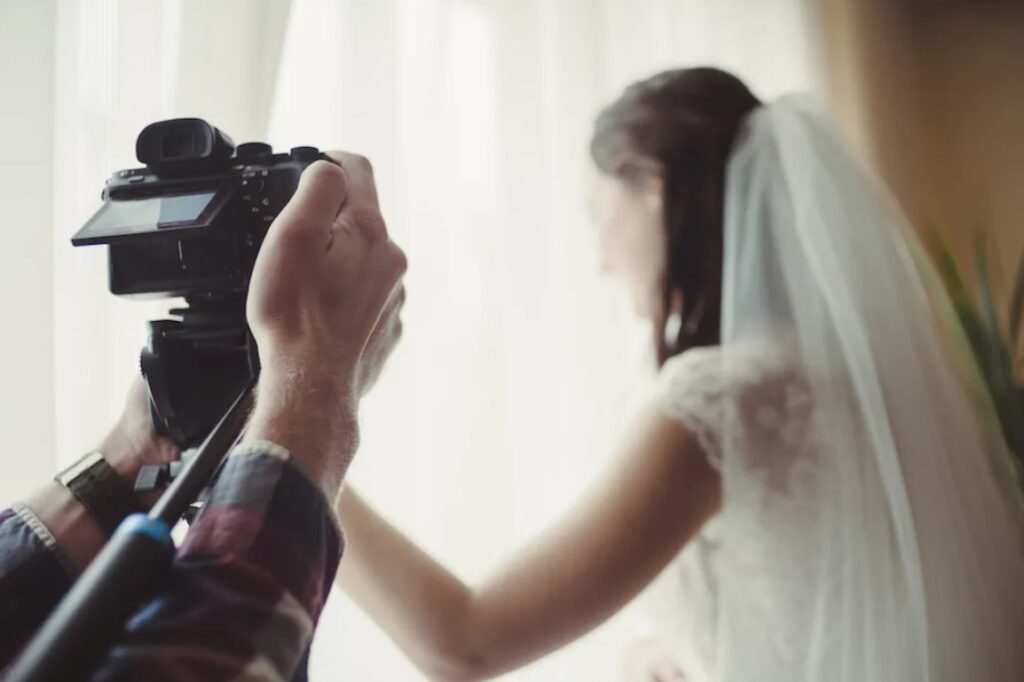
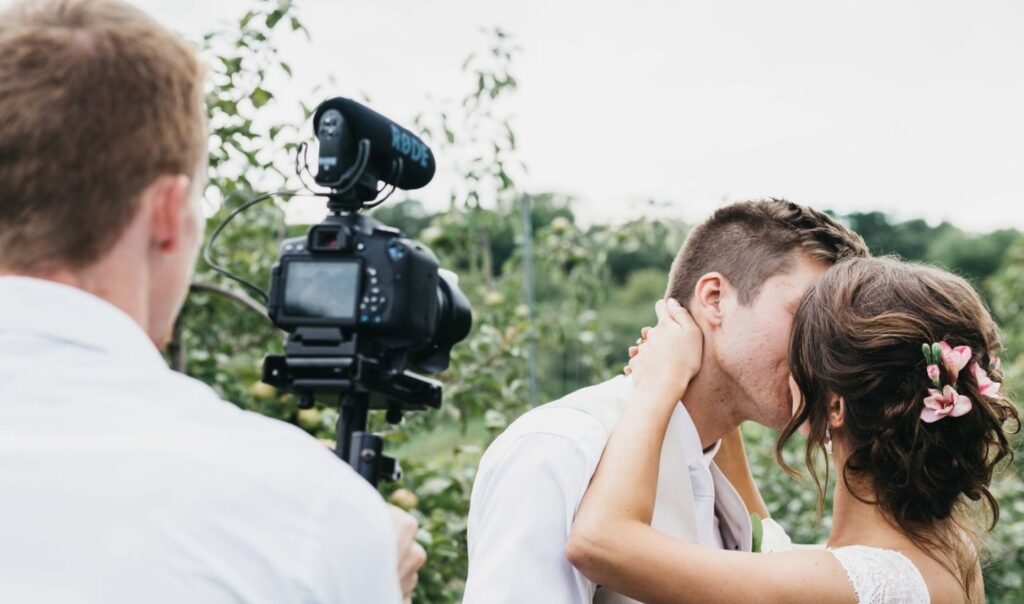
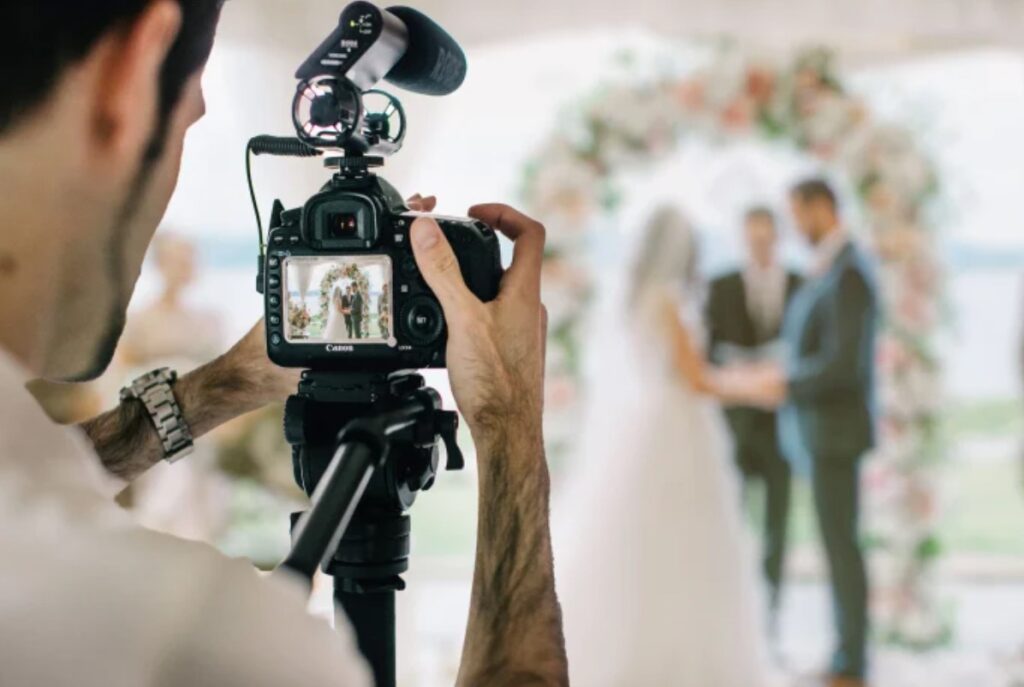
To preserve these memories in the best possible way, One of the ways you can make this whole procedure much simpler is to hire a professional like Bride&Groom.video, as a film/video editor, they manage material such as camera footage, sound, graphics, and special effects to produce a final wedding film.
As you probably know, taking pictures is not quite easy to handle. Among the most important aspects that require your attention is making sure that the lighting is appropriate. Today, we want to provide you with a list of reception lighting tips that will make wedding videography spotless.
1. Three-Point Lighting
Source: medium.com
One of the first things you can do for proper lighting in your wedding event is to apply one of the basic rules, three-point lighting. Those who are aware of this concept know that it can’t be utilized when the situation is not static. However, it can help in situations when the couple is taking pictures with their relatives.
Three main components of three-point lighting are a fill light, a backlight, and a key light. We will start with talking about a key light. We are talking about the primary source of light as its name describes it. It is the most direct and intense. The second one, known as the fill one, has the task of removing all the shadows.
The last one we want to talk about is the backlight. It has the task of being on top of the other two and providing that essential layer, which will help with eliminating all the problems that might occur. As we’ve already said, utilizing this approach is possible only in static situations, meaning, it cannot work properly while a couple is on the move.
2. Natural Light
Source: pinterest.com
If you lack the proper gear to provide all the lighting needed, you shouldn’t fall into despair. Instead, you can use many basic things to improve the lighting inside a certain space. For instance, you can make the most out of natural light. For instance, you should make the most out of the windows out there.
Also, be sure to open as many blinds and curtains as possible. If these two measures are simply not enough to satisfy your needs, then you should proceed with adding some additional fairy lights. Through these, you will emit more light than in a situation when you don’t have these at your side.
If some lightbulbs are not proper in that particular space, then you should replace them on time to prevent any problematic situations for the videography. As you can see, all these tips we’ve pointed out are making a concept of indoor ceremony light complete, and it is one of the easiest and cheapest ways to do it.
3. Experience
The next thing we want to address doesn’t have to do with the techniques of pieces of gear. We want to touch upon experience. The reason why experience is essential is that it offers you a chance to predict all the issues in a certain situation and overcome them without too much struggle, especially when it comes down to lighting.
4. Lenses

Source: medium.com
One of the best pieces of advice we can give you on this topic is to be pretty careful about choosing the lenses for every occurrence out there. You don’t know what the conditions will be for the wedding event. However, you need to make sure that the photographer you have hired has all the important lenses to cover all the situations out there.
Also, it is important to think about situations where you will need to shoot an image at a certain distance and gather all the important details. We can all agree that not all the lenses out there can help you achieve that. For that single reason, knowing what lenses you should carry with you is an absolute must.
A good example is using the right focal length between 35mm and 50mm. We are confident you will be able to cover all the scenarios that might pop up. In case you need to take some wide-range zoom lenses, we would recommend you to check out those ranging between 50mm and 105mm. At the same time, a lot will depend on the camera you use.
5. Understand Your Camera
Source: freepik.com
Last but not least, we want to touch on choosing the proper camera. Sure, most professionals are perfectly aware of this, and they are already well-versed in the gear they’re using. However, it needs to be said that there are many situations when you will have a new piece of gear. The same situation can happen to beginners.
In that situation, you will not know how to handle the camera properly. The reason why this can cause so much confusion during weddings is that this is an event where you will encounter a lot of unpredictable lighting. As you can presume, this can cause numerous problems for the products you’re making.
Therefore, keeping the camera on default settings will probably not provide you with the best results in every case. Instead, you would need to adjust the requirements in every situation until you find the one that suits you the best. Of course, this requires some additional knowledge, not just on the camera at hand, but also on the concept as a whole.
The Bottom Line
A wedding is a vibrant event, and being a professional photographer in one of these is not the easiest thing to do. Here, we’ve provided you with a list of tips that can help you with making the proper lighting conditions. We are sure you will find all the tips to be of much help in your future work.